


Projectors have become increasingly popular, offering large, immersive screens for home cinemas, conference rooms, and other media spaces. However, getting the best picture quality and viewing experience depends heavily on how and where you mount your projector. This guide explores various projector mounting options, their advantages, and practical tips for installation to help you make an informed decision.

Why Consider Mounting Your Projector?
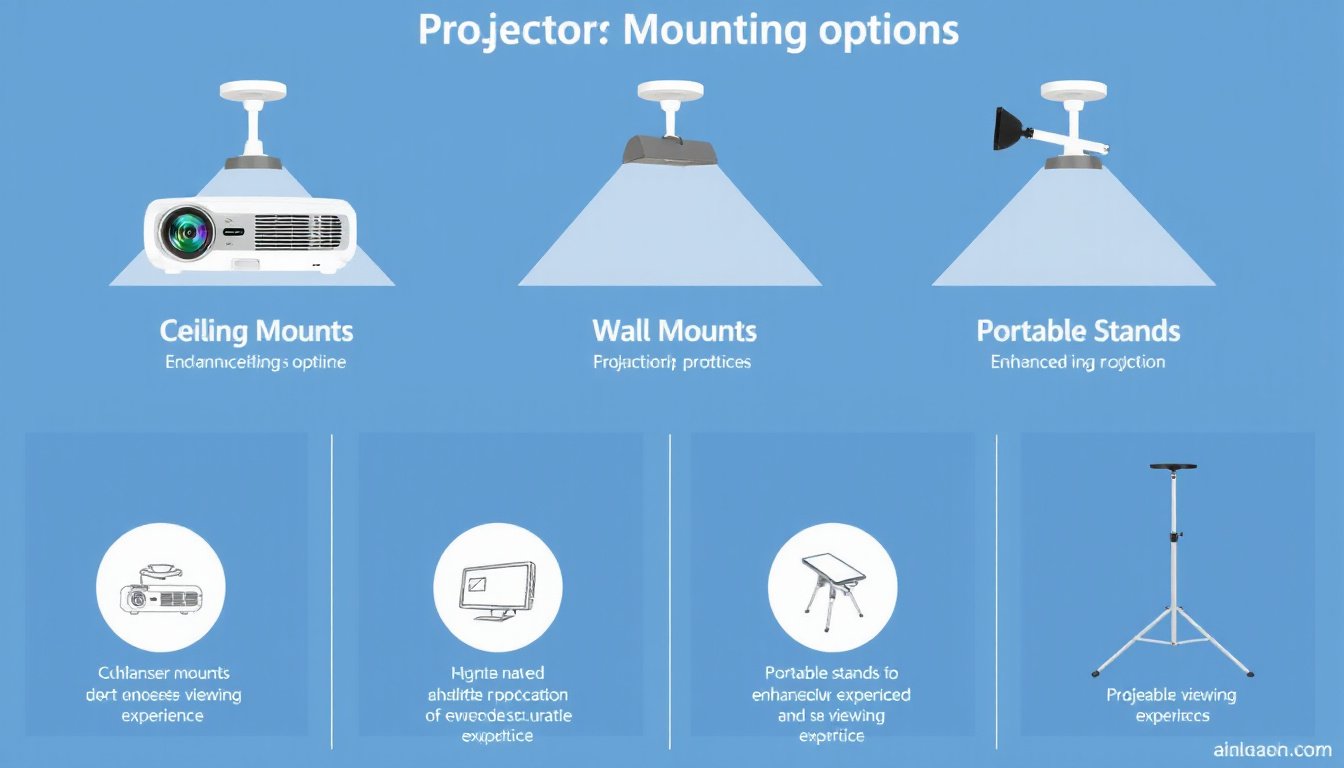
Mounting a projector properly ensures stability and optimal image projection. It allows precise alignment with the screen, better cable management, and enhances the overall aesthetic appeal of your viewing space. Whether you’re setting up a dedicated home cinema or a professional presentation room, choosing the right mounting solution is key.
Common Projector Mounting Options
1. Ceiling Mount
Overview:
Ceiling mounting is the most prevalent option for securing projectors. It involves attaching a mounting bracket to the ceiling, from which the projector hangs. This placement typically allows unobstructed views and minimizes shadow interference caused by people moving around the room.
Benefits:
- Provides a stable and secure installation.
- Optimizes projector-to-screen angle and distance.
- Keeps the room uncluttered.
- Suitable for permanent or semi-permanent setups.
Considerations:
- Ensure the ceiling can support the mount and projector weight.
- Choose mounts with adequate tilt, swivel, and rotation adjustments to align the image perfectly.
- Confirm your projector’s compatibility with ceiling installations — consulting the manual for key specs like throw distance and vertical offset is essential.
- Plan for cable management and access for remote control or maintenance.
2. Projector Lifts (Recessed Ceiling Mounts)
Overview:
Projector lifts are motorized mounts that raise and lower the projector into a housing recessed within the ceiling. They conceal the projector entirely when not in use, contributing to a clean, modern look.
Benefits:
- Aesthetically pleasing with concealed hardware.
- Protects the projector from dust and accidental damage.
- Often operated via remote control, integrating seamlessly into smart homes.
- Ideal for multi-purpose rooms like living rooms where concealment when idle is desired.
Considerations:
- Higher cost compared to fixed mounts.
- Installation may require professional assistance due to mechanical and electrical components.
- Needs sufficient ceiling depth for housing.
- Regular maintenance to ensure smooth operation.
3. Wall Mounts and Brackets
Overview:
Wall mounting involves attaching the projector to a wall bracket or shelf rather than the ceiling. This option can suit rooms where ceiling installation is not practical or preferred.
Benefits:
- Suitable when ceiling mounting is not feasible (e.g., due to structural limitations).
- Can be adjusted to different angles for image alignment.
- Often easier and less invasive to install compared to ceiling mounts.
Considerations:
- May require shelves or custom brackets designed specifically for projectors.
- Ensure the mount supports the projector’s weight.
- Image quality might be affected if the mounting position does not align well with the screen.
- May impact room aesthetics if the projector protrudes from the wall.
4. Fixed Box-Outs or Recessed Niches
Overview:
A fixed box-out involves constructing a recessed compartment within a wall or dropped ceiling during renovation to house the projector.
Benefits:
- Sleek, integrated look that blends with the room design.
- Protects the projector inside a designated enclosure.
- Ideal for new builds or major renovations.
Considerations:
- Installation must be planned ahead of time; not suitable for retrofits without major work.
- Limited access can make adjustments or maintenance challenging.
- Must carefully consider projector placement and throw distance beforehand.
5. Shelf or Table Placement
Overview:
The simplest option involves placing the projector on a shelf, table, or piece of furniture in front of or near the screen.
Benefits:
- No installation needed; easy to relocate.
- No need for drilling or special mounts.
- Perfect for portable or temporary setups.
Considerations:
- May be unstable or prone to being knocked over.
- Generally not visually appealing or professional-looking.
- Can cause shadows if viewers walk between the projector and the screen.
- Cable clutter is often more visible.
Tips for a Successful Projector Installation
- Check projector weight and mount capacity: Always ensure your mount can safely handle the projector’s weight.
- Calculate throw distance and screen size: Reference your projector’s manual for optimal throw distance — the ideal distance directly impacts image size and clarity.
- Use keystone correction and lens shift features: These built-in projector features can help fine-tune the image alignment if the mount angle is not perfectly aligned.
- Plan cable management: Conceal wires using ceiling conduits, cable raceways, or by drilling holes in strategic locations to avoid unsightly cable runs.
- Consider access for remote control: Ensure the projector’s remote sensors remain accessible or use wireless control options for mounted projectors.
- Use stud finders or concrete anchors: For safe and secure attachment, especially on drywall or concrete surfaces, use appropriate fasteners.
Conclusion
Choosing the right projector mounting option depends on your space, projector specifications, aesthetic preferences, and budget. Ceiling mounts and projector lifts provide stable, professional installations ideal for dedicated home cinemas or conference rooms. Wall mounts and fixed niches offer alternatives when ceilings are not accessible, while shelves serve as a cost-effective, non-permanent solution.
By carefully planning your mounting strategy with these considerations in mind, you can elevate your viewing experience and create a captivating environment where your projector truly shines.