


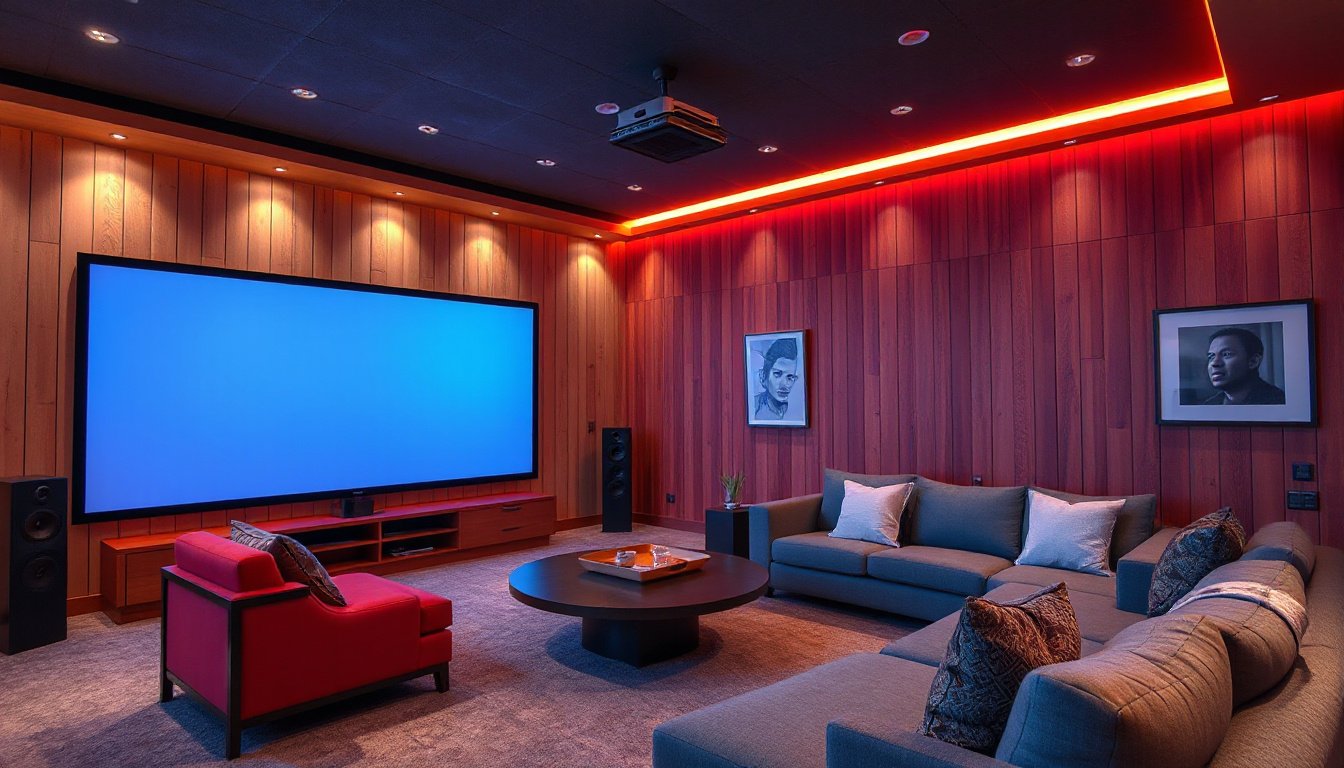
Creating a home theater that rivals the cinema experience used to require a significant investment and a dedicated room. However, with advancements in projector technology, anyone can transform their living space into a stunning visual entertainment zone. This guide explores how to effectively use projectors for home theater setups — covering everything from choosing the right projector to optimizing sound and lighting for an immersive movie night.

Why Choose a Projector for Your Home Theater?
Projectors offer unique benefits that traditional televisions simply cannot match:
- Large Screen Experience: Unlike TVs that are limited by their physical size, projectors can create screens of 100 inches or more, delivering a true cinematic feel.
- Space Efficiency: Projectors require less floor or wall space and often can be mounted on ceilings or placed on small shelves.
- Cost-Effectiveness: Large-sized, high-resolution TVs may be prohibitively expensive, while projectors deliver comparable or better screen sizes at a lower price.
- Eye Comfort: Projectors reflect light, which is gentler on the eyes over long viewing periods compared to the direct light emission of TV screens.
- Portability and Flexibility: Lightweight and compact projectors allow for easy relocation and use in various environments, including outdoor movie nights.
Step 1: Choosing the Right Projector
Selecting the proper projector sets the foundation for your home theater. Key factors to consider include:
- Resolution: Aim for at least Full HD (1080p), with many enthusiasts preferring true 4K resolution projectors for sharper, detailed images. Higher resolutions are especially important for larger screen sizes.
- Brightness: Brightness is measured in lumens. For dark home theater rooms, 1,500 to 3,000 lumens often suffice. If ambient light is present, opt for projectors with higher lumen outputs to maintain image clarity.
- Contrast Ratio: Higher contrast ratios enhance deep blacks and highlight details in dark scenes — a critical factor for film lovers.
- HDR Compatibility: High Dynamic Range (HDR) capability allows richer color and expanded brightness contrast.
- Throw Distance: Decide between standard throw, short throw, or ultra-short throw projectors based on your available space. Short throw models can project large images from a shorter distance, ideal for smaller rooms.
- Connectivity: Look for HDMI ports, wireless streaming options, and compatibility with popular devices (e.g., Roku, Chromecast) to streamline your content sources.
Step 2: Selecting the Projection Surface
While it might be tempting to project directly onto a white painted wall, a high-quality screen dramatically improves image quality by enhancing brightness and color accuracy. Here are options:
- Fixed Frame Screens: These provide a flat, tensioned surface ideal for permanent home theaters.
- Motorized Drop-Down Screens: Convenient for multi-purpose rooms, these screens retract when not in use.
- Portable/Foldable Screens: Great for flexibility and outdoor use.
- Walls: If using walls, ensure they are smooth, flat, and painted with projector-specific reflective paint for best results.
Step 3: Optimizing the Viewing Environment
Creating the right environment elevates your projector experience:
- Lighting Control: Dark or dimmable lighting is essential for image clarity. Use blackout curtains or blinds to minimize ambient light. Consider smart lighting solutions or dimmers to adjust ambiance smoothly.
- Room Layout: Position seats where viewers have a clear, unobstructed line of sight. Ensure sufficient distance between the projector and the screen to accommodate optimal image size.
- Soundproofing and Acoustics: Carpeting and curtains can reduce sound reflections, enhancing audio quality.
Step 4: Enhancing Audio for Cinematic Impact
Sound quality is as important as visuals in a home theater. Projectors often have built-in speakers that may not suffice for immersive audio.
- External Sound Systems: Consider a multi-channel AV receiver paired with surround sound speakers or a powerful soundbar. This setup delivers spatial audio, bass depth, and volume comparable to commercial cinemas.
- Wireless and Bluetooth Speakers: For flexibility without extensive wiring, these are effective alternatives.
- Acoustic Treatments: Adding rugs, wall panels, and soft furnishings helps absorb unwanted echoes and enhances sound clarity.
Step 5: Setting Up and Calibrating Your Projector
Proper setup and calibration ensure optimal performance:
- Placement: Use mounting brackets or stable furniture to place the projector securely. Pay attention to throw distance according to projector specs.
- Focus and Keystone Correction: Adjust the focus for crisp images and use keystone correction to eliminate trapezoidal distortion if the projector is off-center.
- Aspect Ratio: Match the projector’s display aspect ratio (usually 16:9 for movies) with your content source.
- Color and Brightness Calibration: Tweak projector settings or use professional calibration tools to fine-tune colors, brightness, and contrast.
Step 6: Connecting Your Media Sources
A projector serves as your display device, but you’ll need compatible media sources:
- Streaming Devices: Roku, Amazon Fire Stick, Chromecast, or Apple TV connect via HDMI allowing access to streaming services.
- Cable or Satellite Boxes: For live TV programming.
- Blu-ray Players and Game Consoles: Deliver high-quality content with impressive visual effects.
- Smart TVs with Casting: Some smart TVs can cast content wirelessly to compatible projectors.
Make sure cables are firmly connected and the projector input source aligns with your device.
Final Thoughts: Enjoy Your Home Theater
Once your projector, screen, sound system, and lighting are perfectly set up, immerse yourself in movies, TV shows, sports, or gaming like never before. Whether housed in a dedicated media room or integrated into a versatile living area, projectors offer an engaging, flexible, and cost-effective alternative to traditional TVs.
With ongoing innovations in laser light sources, HDR, and smart connectivity, home theater projectors continue to deliver brighter images, richer colors, and smarter features, bringing the magic of cinema right into your living room.
FAQs
Can a projector replace a traditional TV?
Yes, with the right setup, a projector can fully substitute a TV, offering larger screens and better cinematic experiences.
Do I need a special room for a projector home theater?
Not necessarily. While dedicated rooms optimize the experience, projectors can work beautifully in living rooms, bedrooms, or even outdoor spaces.
What projector brightness do I need?
For dark rooms, 1500–3000 lumens is typically sufficient. Brighter rooms require projectors with higher lumens for image clarity.
Is a projector screen necessary?
While you can project on walls, a dedicated screen greatly enhances image quality, color accuracy, and brightness.
By following these guidelines, you can effortlessly transform your living room into a captivating home theater that delivers unforgettable cinematic moments every time you press play.