


Setting up a projector for an immersive home theater experience or a productive office meeting space requires more than just picking any projector off the shelf. A critical factor in ensuring crisp, well-sized images is understanding projector throw ratios — the mathematical relationship between your projector’s placement and the screen size it produces. This comprehensive guide delves into the essentials of throw ratios, explains how they affect different room types, and offers practical steps to optimize your projector setup.
What is Projector Throw Ratio?
The throw ratio is defined as the ratio between the distance from the projector’s lens to the screen (throw distance) and the width of the projected image (image width). Expressed mathematically:
Throw Ratio (R) = Throw Distance (D) ÷ Image Width (W)
For example, a projector with a throw ratio of 1.5:1 means you need to position the projector 1.5 feet away from the screen to display an image 1 foot wide. This ratio is dimensionless as the units cancel out.
Throw ratio provides crucial guidance in determining where to place your projector and what image size you can expect considering your room’s constraints.
Types of Throw Ratios and Their Ideal Rooms
Projectors generally fall into three throw ratio categories, each suited to specific space sizes and uses:

| Throw Ratio Type | Typical Ratio Range | Ideal Room Type | Example Image Size at 4 ft Distance |
|---|---|---|---|
| Ultra Short Throw (UST) | Below 0.5:1 | Small rooms, home theaters, tight spaces | 80"+ |
| Short Throw | 0.38:1 – 1.4:1 | Classrooms, small conference rooms, compact home setups | 50"–70" |
| Standard Throw (Long Throw) | 1.5:1 – 2.5:1 | Large rooms, auditoriums, traditional home theaters | 20"–32" |
- Ultra Short Throw (UST) projectors can create large images from inches away, eliminating shadows and accommodating very tight spaces.
- Short throw projectors suit small to medium rooms where space is at a premium but sizable images are desired.
- Standard throw projectors require more space but often provide flexibility and higher brightness, suitable for large rooms such as auditoriums or spacious home theaters.
How Throw Ratio Directly Influences Image Size
Understanding the numeric relationship between throw ratio and placement helps you plan. The formula can be manipulated depending on your known variables:
-
To calculate image width:
W = D ÷ R -
To calculate throw distance:
D = W × R
For instance, if you have a projector with a 1.5:1 throw ratio and want a 100-inch wide image (approximately 8.3 feet), the projector should be placed roughly 12.5 feet away (1.5 × 8.3).
Conversely, if your room only allows 10 feet of distance, the maximum image width for this setup would be about 6.7 feet (10 ÷ 1.5).
Why Room Size Matters for Throw Ratio Selection
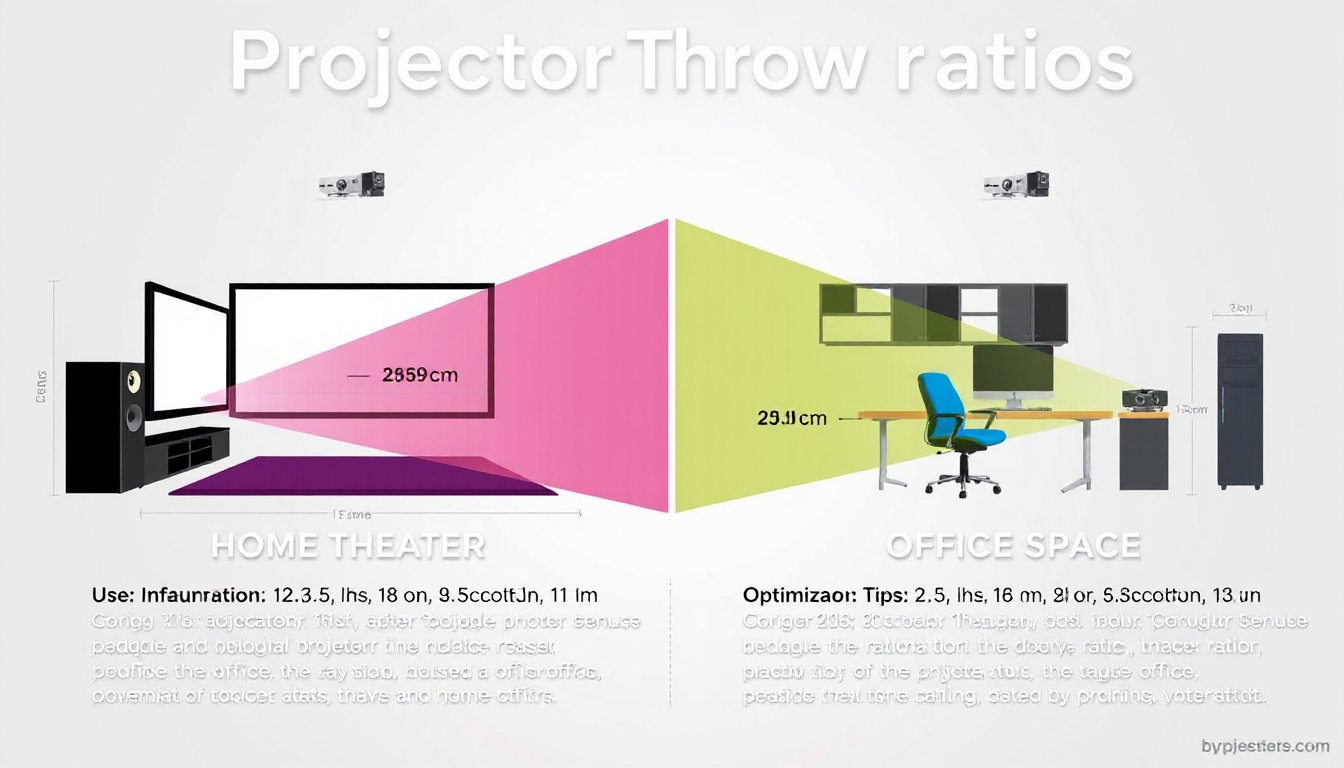
Home Theaters
For dedicated home theaters with substantial wall space, standard throw projectors are common. They balance image size and brightness effectively when mounted around 8-12 feet from the screen. However, in smaller rooms, long throw projectors lead to undersized images or awkward placements.
Alternatively, short throw or ultra short throw projectors are excellent when rooms are compact or when ceiling mounting is impractical.
Office and Classroom Environments
Space constraints are more common here, making short throw projectors ideal for classrooms and small conference rooms where tight layouts reduce projector-to-screen distance.
Ultra short throw projectors are popular for interactive setups as they reduce shadows caused by presenters walking between the projector and screen.
Calculating the Perfect Throw Ratio for Your Room
Step-by-Step Guide:
-
Measure Available Throw Distance:
Measure the distance from the potential projector mounting spot (lens location) to the screen surface. -
Determine Desired Image Width:
Based on your screen size or desired projection dimensions (remember to convert diagonal size to width using the aspect ratio, e.g., 16:9 screens). -
Calculate Throw Ratio:
Divide the throw distance by the image width. -
Select Projector Based on Throw Ratio Range:
Compare your calculated throw ratio to manufacturer specs to find a projector suited for your space.
Common Mistakes to Avoid When Considering Throw Ratios
- Ignoring available room space: Choosing a projector with a throw ratio that requires more distance than your room allows leads to small images or forced placement.
- Not accounting for mounting limitations: Projector placement flexibility (ceiling mount, shelf mount) affects throw distance and projection angle.
- Overlooking image distortion and brightness: Zoom lenses that adjust throw ratios also impact brightness and focus. Too much zoom can reduce lumens and degrade image quality.
- Neglecting ambient light: Higher throw ratios often correspond to brighter images from greater distances, helpful in bright rooms.
Best Practices: Optimizing Your Projection Setup
- Use Throw Ratio Calculators: Online calculators or built-in manufacturer tools help you input your room’s dimensions and desired image size to find the perfect throw ratio and projector.
- Plan for Adjustments: Leave extra space for minor tweaks in projector position or screen size.
- Choose Specialized Screens: Short and ultra short throw projectors perform better with tensioned or special reflective screens to avoid distortion.
- Follow Industry Viewing Guidelines:
- THX recommends positioning viewers at about 1.34 times the diagonal screen size for immersive comfort.
- SMPTE suggests a 30° viewing angle. Adjust projector placement and screen size accordingly.
Final Thoughts
Mastering projector throw ratios is essential for creating an optimal viewing experience tailored to your room’s unique characteristics. Whether designing a cozy home theater or a functional office presentation area, knowing how to calculate and apply throw ratios ensures balanced image size, clarity, and brightness.
Before purchasing a projector, measure your space carefully, calculate your desired throw ratio, and select a projector model that fits your parameters — avoiding costly mistakes and achieving stunning visuals every time.
Empowered with this knowledge, you can confidently select and position projectors that transform your viewing experience regardless of room size or layout.