


Taking your projector experience outdoors opens up endless possibilities for entertainment and presentations under the sky, transforming your backyard or open space into an engaging venue for movies, sports, business presentations, or community events. However, successfully using projectors outdoors requires careful planning, the right equipment, and understanding the environmental challenges that differ from indoor use. This guide covers all you need to know about setting up and using projectors outdoors effectively.
Understanding the Unique Challenges of Outdoor Projection
Unlike indoor environments designed for controlled lighting, outdoor spaces come with ambient light from the moon, streetlights, house lights, and even stars. These light sources can reduce image contrast and clarity. Additionally, irregular terrains, weather conditions, and the lack of dedicated power outlets add complexity to outdoor projector setups.
To overcome these challenges, you must select appropriate equipment and optimize your setup to ensure clear, vibrant visuals and immersive sound.
Choosing the Right Projector for Outdoor Use
Brightness (Lumens)
Brightness is the crucial factor in outdoor projectors. Because of competing ambient light, a projector with high brightness is a must. Generally, a projector with at least 3,000 lumens (or 1000 ANSI lumens) is recommended for moderate ambient light settings. For environments with higher light pollution or larger screens, projectors with 4,000 lumens or more are preferable.
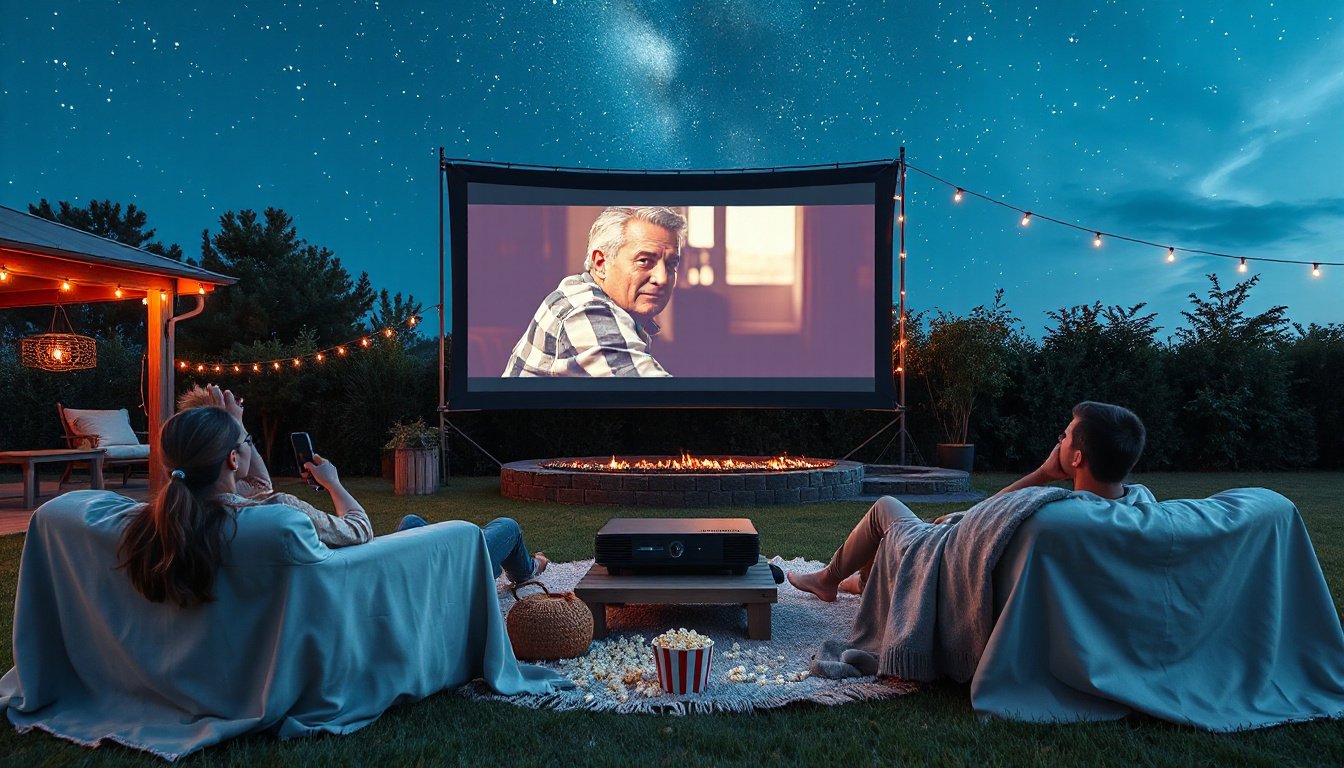
If planning to use the projector in near-total darkness post-sunset, somewhat lower lumens can suffice. However, starting your viewing once full darkness settles always improves image quality.
Resolution
Higher resolution projectors (Full HD 1080p minimum) ensure sharp and detailed images. For an exceptional experience, especially for scenic movies or text-heavy presentations, 4K projectors provide superior clarity and color definition.
Portability and Power
Since outdoor locations may vary, portability is essential. Compact and lightweight projectors with built-in rechargeable batteries facilitate flexibility in choosing viewing locations without dependence on power outlets.
For longer events or fixed installations, projectors powered by AC outlets and supported by outdoor power solutions such as extension cords or portable power stations work well.
Connectivity Options
Ensure the projector has HDMI ports for inputs from laptops, streaming devices, or Blu-ray players. Wireless connectivity features such as Wi-Fi and Bluetooth simplify setup by connecting to speakers or streaming platforms without tangled cables.
Selecting the Ideal Outdoor Screen
Screen Type
- Portable Screens: Lightweight and easy to assemble, great for casual movie nights.
- Inflatable Screens: Ideal for large audiences and spacious backyards.
- Fixed screens or DIY options: Such as white walls or stretched white sheets, which can work in a pinch but might reduce image quality.
Screen Size and Gain
Match the screen size with your projector’s throw distance for optimal image sharpness. High-gain or ambient light rejecting (ALR) screens enhance brightness and image contrast by reflecting more light toward viewers, compensating for ambient light interference.
Sound Setup for Outdoor Projection
Built-in projector speakers usually lack the power needed for open spaces. Use external speakers or soundbars for richer, clearer audio. Wireless Bluetooth speakers offer straightforward connectivity and reduce cable clutter. Position speakers strategically to surround the viewing area for the best immersive sound.
Essential Accessories and Setup Tips
- Mounts and Stands: Adjustable tripod stands or mounts help position the projector for the best angle and height, ensuring a distortion-free image.
- Power Solutions: Use outdoor-rated extension cords, surge protectors, or portable power stations for reliable electricity.
- Seating and Ambiance: Comfortable seating like lawn chairs, bean bags, or blankets enhances the experience. Soft ambient lighting from string lights or lanterns adds warmth without washing out the screen.
- Weather Protection: Use waterproof covers or tents to protect equipment from unexpected rain or dew.

Step-by-Step Guide to Setting Up Your Outdoor Projector
-
Choose the Right Location: Look for a flat, stable area shielded from streetlights or external light sources for best contrast and picture clarity. Ensure enough space for the screen, projector, and audience seating.
-
Set Up the Screen: Assemble your screen according to its type. Position it for unobstructed visibility from all seating areas and at a comfortable height.
-
Position and Align the Projector: Place the projector at the recommended distance based on its throw ratio. Use stands to adjust height and angle, centering it with the screen to prevent image distortion.
-
Connect Devices: Hook up your video sources (laptop, streaming device, DVD player) via HDMI or wirelessly. Connect external speakers for high-quality audio.
-
Test and Adjust: Power on all devices, test video and audio playback, and tweak positioning or settings such as brightness, contrast, and keystone correction for a crisp image.
-
Create the Ambiance: Arrange seating, add ambient lighting, and prepare snacks for a cozy, inviting atmosphere.
Maximizing Your Outdoor Viewing Experience
- Start your movie or presentation at dusk or later to reduce ambient light.
- Use blackout curtains or block unwanted light with portable screens or shields if possible.
- Consider ambient light rejecting (ALR) screens where light pollution is significant.
- Choose weather-appropriate days; avoid very windy or humid evenings to protect equipment and ensure comfort.
- Share the event with friends and family — outdoor projection encourages social gatherings and memorable experiences.
Conclusion
Using projectors outdoors can turn ordinary evenings into magical movie nights or create impressive presentation environments under the open sky. By choosing the right projector and screen, incorporating a quality sound system, and carefully planning your setup and location, you can overcome typical outdoor challenges and enjoy stunning visuals and sound. Prepare your invitations, set up your gear, and let the show begin beneath the stars.
With this guide, get ready to illuminate your evenings and create captivating outdoor experiences that will keep your audience coming back for more!